Table of content
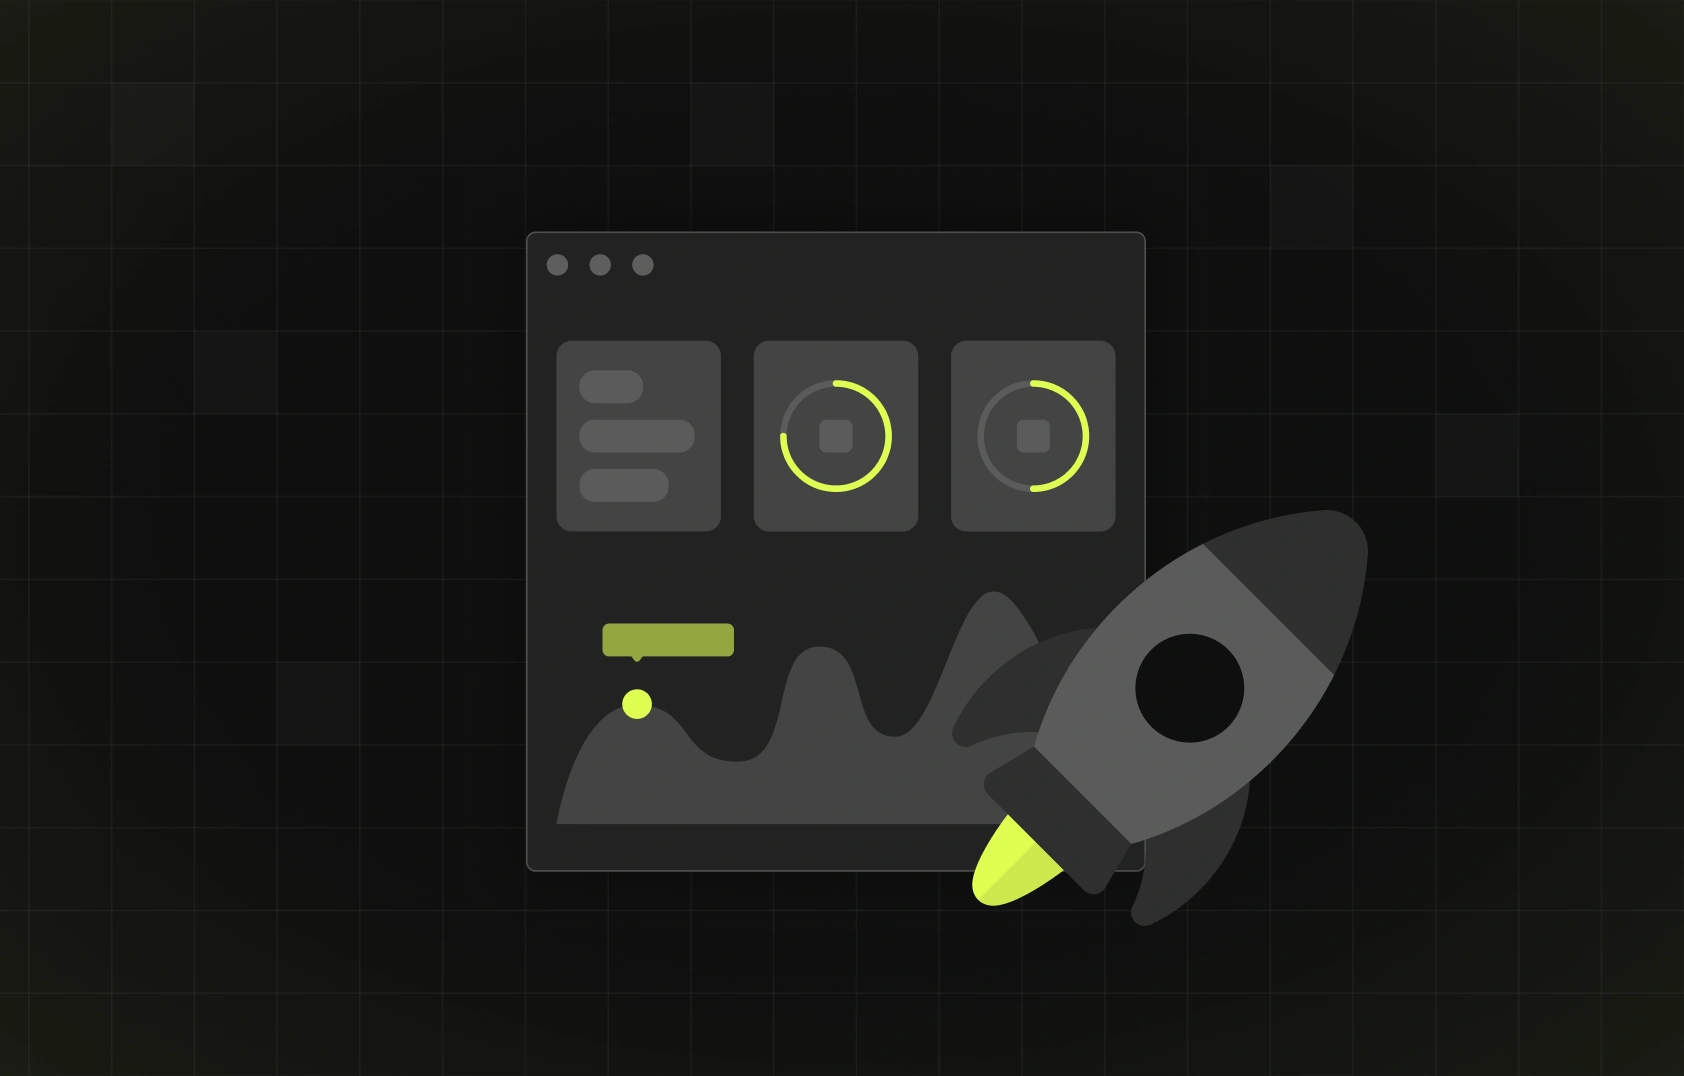
We imagined this UX audit blog as a practical guide that can quickly show you how easy your website or app is to use. The main goal we had in mind was to help you go through key areas of a strong user experience and spot potential issues. Not only that, but we also included a free UX audit checklist and a template, created to simplify your UX audit process even further. All of that combined makes this blog post a great place to start if you’re looking to improve user engagement (and all that comes with it).
Key takeaways:
- UX audits help you spot where users get stuck as they navigate your product.
- Having a structured process helps you make confident design decisions (once the audit is done).
- Using checklists and templates keeps audits consistent and repeatable.
- UX audits support conversion optimization, accessibility, and brand trust.
- Every SaaS or product team should perform them regularly, not only during redesigns.
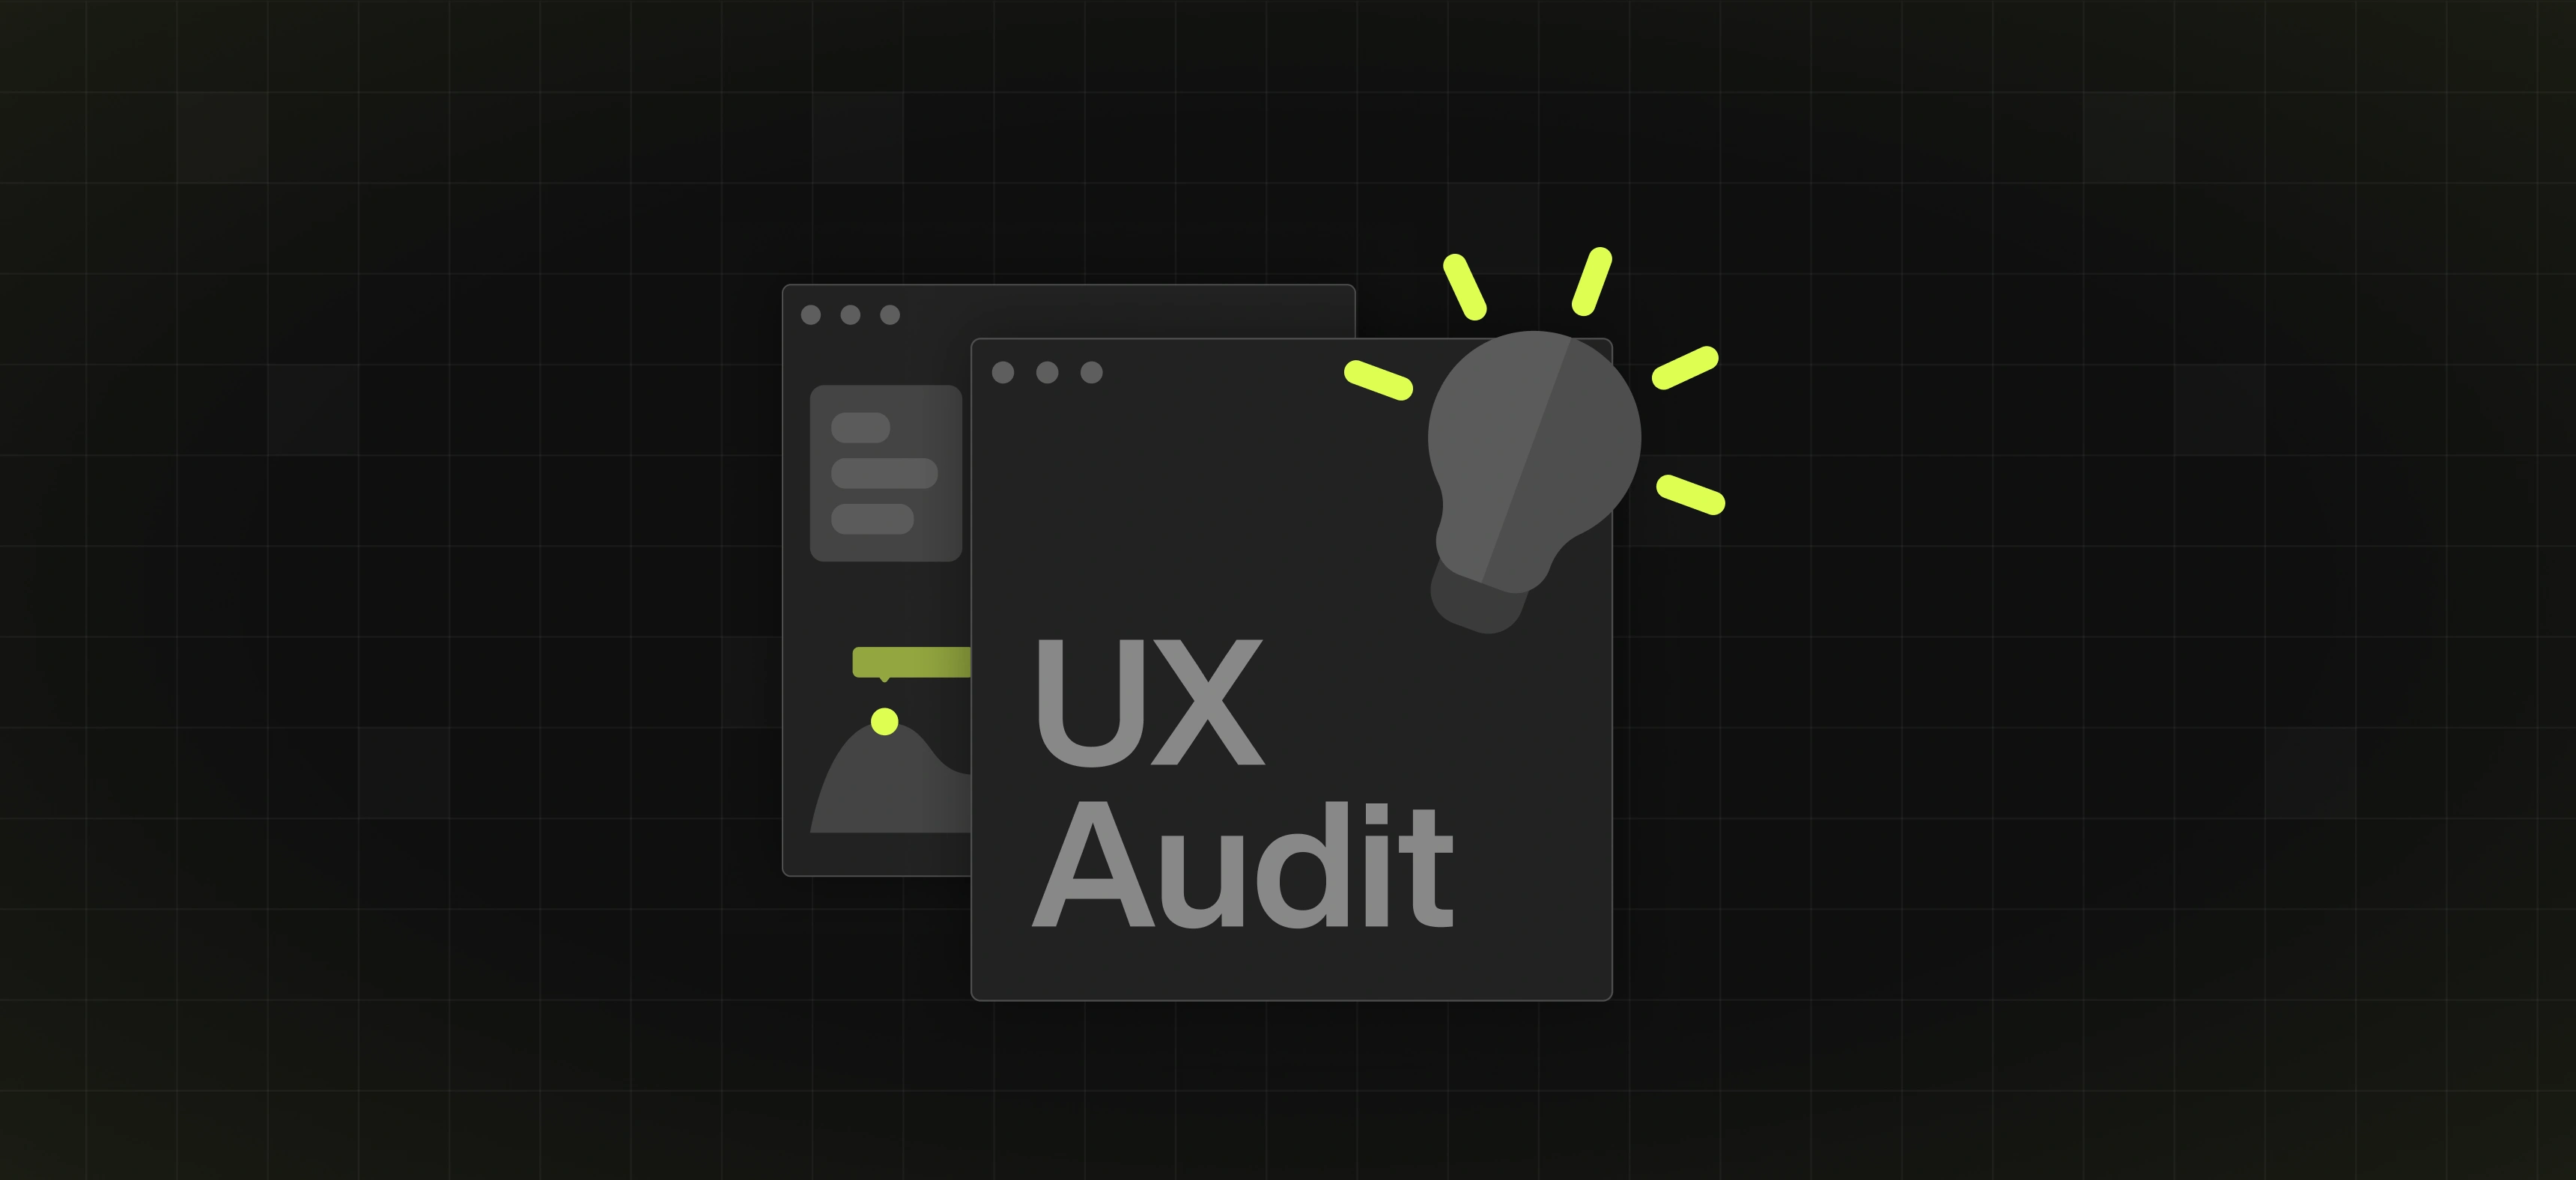
What is a UX audit?
Contrary to some beliefs (rather common ones), a UX audit is not a redesign or a critique of how your website looks. A true audit process is not based on personal opinions or subjective design taste. Just the opposite, it is a systematic usability evaluation. It provides you with insights based on real user behaviour and data, which should help you improve your product’s clarity and user flow. The goal of each UX audit is simple - making the experience better for users and more effective for your business.
What defines a strong user experience?
An enjoyable and user-centred design needs to get a few basics right, and those basics are:
- Clarity - users can easily understand what they should do and why
- Predictability - actions behave the way users expect
- Accessibility - everyone can use your product easily
- Speed - fast loading speed and smooth interactions
- Visual hierarchy - the most important pieces of information stand out
- Trust - users feel safe and confident to use your product
- Delight (used responsibly) - thoughtful touches that make the whole experience more enjoyable.
As for the UX audit, it lets you measure how well your product meets these fundamentals. It allows you to pinpoint problem areas and see what’s effective, in order to make the make a good user experience work in your favor.
What the UX audit process looks like
Although we’ll uncover all of the UX audit steps in the further text, let’s start with a table that represents a simple breakdown of this process:
Step-by-Step guide - how to conduct a UX audit
We’ve put together a comprehensive guide to help you look at your product properly. It walks you through exactly what to check during a UX audit, step by step.
#1 Understand the business and user goals
Before you look at screens or flows, make sure you understand the basics. What does the product actually do? Who is it for? And what does success mean for this business?
Although many overlook this step, it’s an important starting point that helps you understand what users are trying to get done alongside what the business actually needs. At the same time, it makes it much easier to see where the experience supports these goals, and where exactly it gets in the way.
#2 Gather data from real behavior
Do you know how users interact with their product? Many people make mistakes of relying on guesswork and opinions instead of real evidence.
In order to see what people click and where they give up, use:
- Google Analytics
- Hotjar/FullStory
- Search queries
- Drop-off rates
- On-site search logs.
They show what people actually do on your website, what they click and search for, or what they skip or abandon. These patterns point you straight to areas that need attention.
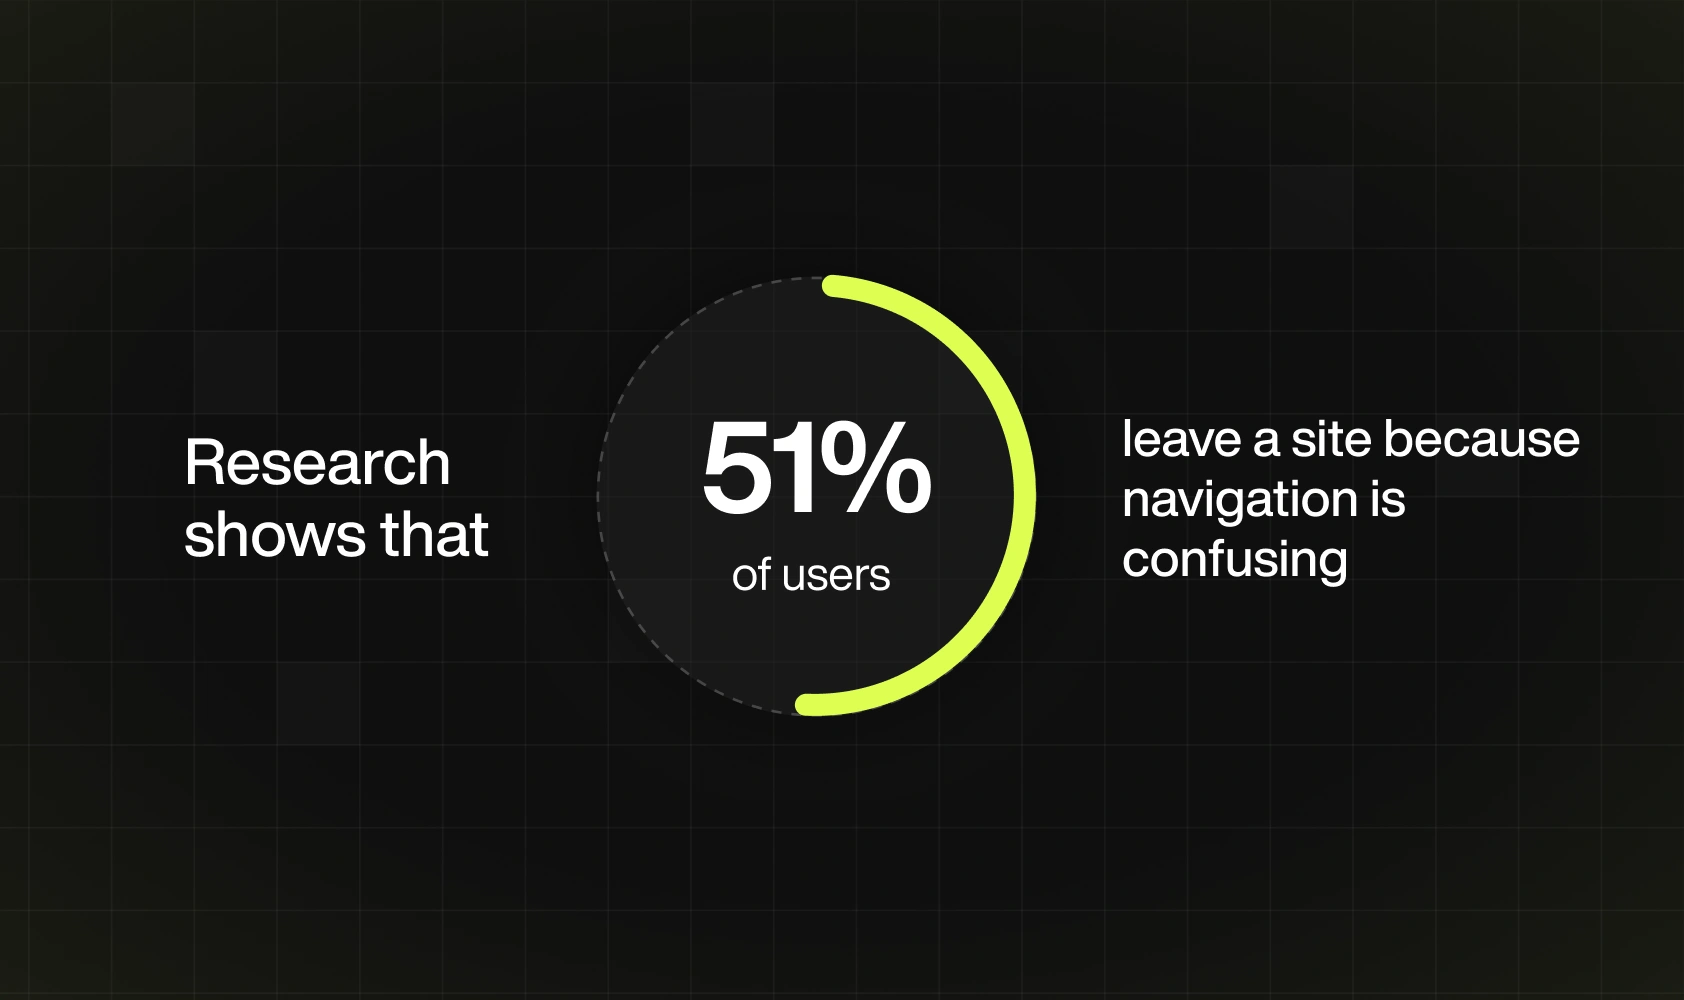
#3 Analyze navigation & information architecture
Can your users find what they need without thinking too much? If navigation is unclear or pages are poorly organized, users get lost. It's a thing that can end up driving them away, even if the product itself is good.
That’s why it’s important to look at how menus are structured and whether the pages are grouped logically. It’s also important to figure out if the key actions are easy to find. You don’t want users to have to search or guess where to click next.
#4 Evaluate usability with heuristic review
In UX, heuristics are a set of rules designers use to evaluate UI usability. Jakob Nielsen, co-founder of the Nielsen Norman Group, introduced a set of usability guidelines that are widely used today.
Therefore, this step implies checking your product against these well-known usability principles (consistency, recognition, efficiency of use, aesthetics, and the like - just to mention a few). It can help you spot issues that might not show up in data, but still frustrate users in everyday use.
#5 Inspect UI consistency & design system alignment
Predictability is a key to keeping users engaged. That’s why your interface must feel consistent, which means:
- Buttons should look and behave the same
- Text should follow the same styles
- Spacing should feel even.
The same goes for the design system itself. UI elements (buttons, for example, or forms) should be used in the same way across the product, so users don’t have to relearn how they work. Inconsistent product leads to confusion, and confusion kills conversion rates.
#6 Check accessibility
When building custom web solutions, accessibility is often treated as a standard requirement. However, many issues still go unnoticed, which block some of the users from completing even the most basic actions. Simple things like clicking a button or completing a form can become difficult (or even impossible) for some users.
That’s why you need to build a product in a way that works for as many people as possible. For example, text should be easy to read against the background. Users should also be able to move through your product without a mouse, when needed, and images should have clear descriptions.
#7 Review content clarity & microcopy
Now is the time to focus on evaluating whether users can quickly understand what to do next. Therefore, you should examine headlines, CTAs, helper text, and system messages. What you should find here are clear instructions and value that is clearly communicated upfront. Stay clear of vague wording and jargon, and avoid missing explanations. The language used must be simple and user-focused.
#8 Prioritize findings
Prioritizing findings means deciding what to fix first - but how to do so? You’ve done the hard part (gathering all of the issues), now you only need to sort them by a) how much they affect users and b) how hard they are to fix. It will allow you to then label them properly - as high, medium, or low priority.
It’s important not to neglect this step, since it helps you focus on the most important problems and quick wins, and leave smaller or more complex improvements for later.
#9 Prepare an actionable UX report
The final step (should we say the final boss) of the UX audit is organizing all of your findings into a well-thought-out report. This report should include:
- List of discovered problems - an overview of all usability issues you’ve found,
- Their severity and impact - an explanation of how serious each problem is and how much it affects users and business goals,
- Suggested design solutions - ideas for fixing or improving each issue,
- Supporting screenshots - visual examples meant to make findings easier to understand,
- Recommendations for next steps - thoughts on how to move forward after the audit.
Why you should perform regular UX audits
With regular UX audits, you’ll make your users happier and your digital presence stronger. When done periodically, these reviews can boost your business by:
- Improving conversion rates - a UX audit allows you to fix problems that prevent users from completing your desired action.
- Identifying hidden friction points - audits help you catch small issues early, before they grow into bigger problems.
- Reducing bounce and drop-off - when the experience is smoother, users are more likely to stay and explore.
- Strengthening brand trust - a consistent experience feels more reliable and builds confidence in your brand.
- Minimizing long-term redesign costs - fixing usability issues early is much cheaper than having to redesign everything later.
- Increasing accessibility compliance - making the product easier to use for everyone naturally opens it up to a wider audience.
When is the right time to do a UX audit?
UX audits are useful anytime you want to make sure your product works smoothly. For example, they can help you catch issues early. New designs are more likely to improve the experience instead of repeating old mistakes when there is a UX audit involved. These reviews are also great after you roll out new features, just to check that everything still makes sense and nothing feels broken.
If conversions start to drop, a UX audit helps you see why users are not finishing what they started. Similarly, when analytics show unusual behavior, UX audits are a good way to investigate it before it becomes a bigger problem.
In fact, it’s safe to say that, even for healthy teams with no significant UX issues on sight, it’s recommended to have regular check-ins every 6–12 months.
UX audit checklist
We’ve already gone through a full UX audit process step by step. However, we also made a downloadable app and website UX audit checklist, which will make it usable in real life. It is a good way to stay focused but without overthinking every step.
Look at it this way - the blog helps you understand how to run a UX audit, but the checklist helps you actually do it, without skipping any of the fundamentals.
UX Audit Templates
Instead of notes scattered across Notion or screenshots piled up on your desktop, you can use this Figma UX audit template to keep everything in one place. This template is structured to help you review your product screen by screen.
To use it, simply open the template link in Figma and click Duplicate. The file will be saved to your drafts. To proceed, simply rename it and adjust it to your product.
As for the way you should use it, if your team is small, keep it simple. Review only your key screens and focus on high-impact issues. Larger teams can split the audit by screens or flows. It’s a good idea for different team members (designers, product managers, and marketers) to add findings in parallel, then review priorities together.
If you wish to use this template in pairing with a checklist, we suggest you go through the checklist item by item. For each issue you spot, log it in the template under the relevant screen, add a short note, and assign a priority - and that’s it.

Considerations for your next UX diagnosis
Audits work best when they’re focused. Therefore, make sure to keep these points in mind to keep your findings aligned with your business goals:
- Prioritize real user behavior - focus on what users actually do.
- Avoid internal bias - don’t judge the product only from your own perspective.
- Define the scope - audit key pages or features first, don’t try to check everything at once.
- Make recommendations doable - suggest changes your team can actually implement.
- Align with your brand - UX fixes should fit your product’s style and tone.
- Connect to business goals - show how each change helps users and your business.
Maximize results - let the experts handle your UX audit
We’ve shown you what a UX audit looks like and how to approach it step by step. Our team also made a simple checklist to help you stay focused and provided a template that allows you to communicate your findings clearly across your team.
For many teams, that’s enough to get meaningful insights. But when you need deeper analysis and a professional outside perspective, a professional UX audit makes the difference. That’s where Devolfs steps in. Our team has years of experience helping teams go beyond surface-level issues and turn UX insights into significant product changes. If that’s something you’re looking for, don’t hesitate to get in touch with us - we’d be happy to help.


%201.svg)