Table of content
Summary:
A/B testing in Webflow is a way to compare two versions of a page or element to see which performs better. It helps you optimize your Webflow website.
- Webflow supports testing via Webflow Optimize or third-party tools (e.g., Optibase, VWO, Humblytics).
- At the beginning, clear goals + KPIs (clicks, sign-ups, conversions) are necessary.
- They should be followed by a focused hypothesis (e.g., “Changing CTA color will boost clicks by 3%”).
- Properly run tests look like this: duplicate → edit → track → launch → analyze.
- It’s better to test small but impactful elements like CTA buttons, headlines, forms, and product images.
- Avoid stopping too early, changing too much at once, and other common A/B testing mistakes.
- Always test ethically - respect user privacy and GDPR rules.
- For advanced strategies, consider bringing in experts to save time and maximize results.
A beginner’s guide to A/B testing in Webflow
Those hearing the term A/B website testing and learning about it for the first time may feel intimidated by it. Collecting and analyzing data are, after all, inherently scientific processes. However, there’s no need to stress about Webflow A/B testing, since it’s a platform that allows you to test and execute different elements easily. So, when the time comes to make data-driven decisions for your website, here’s what you need to know.
What is A/B testing (without the tech overload)
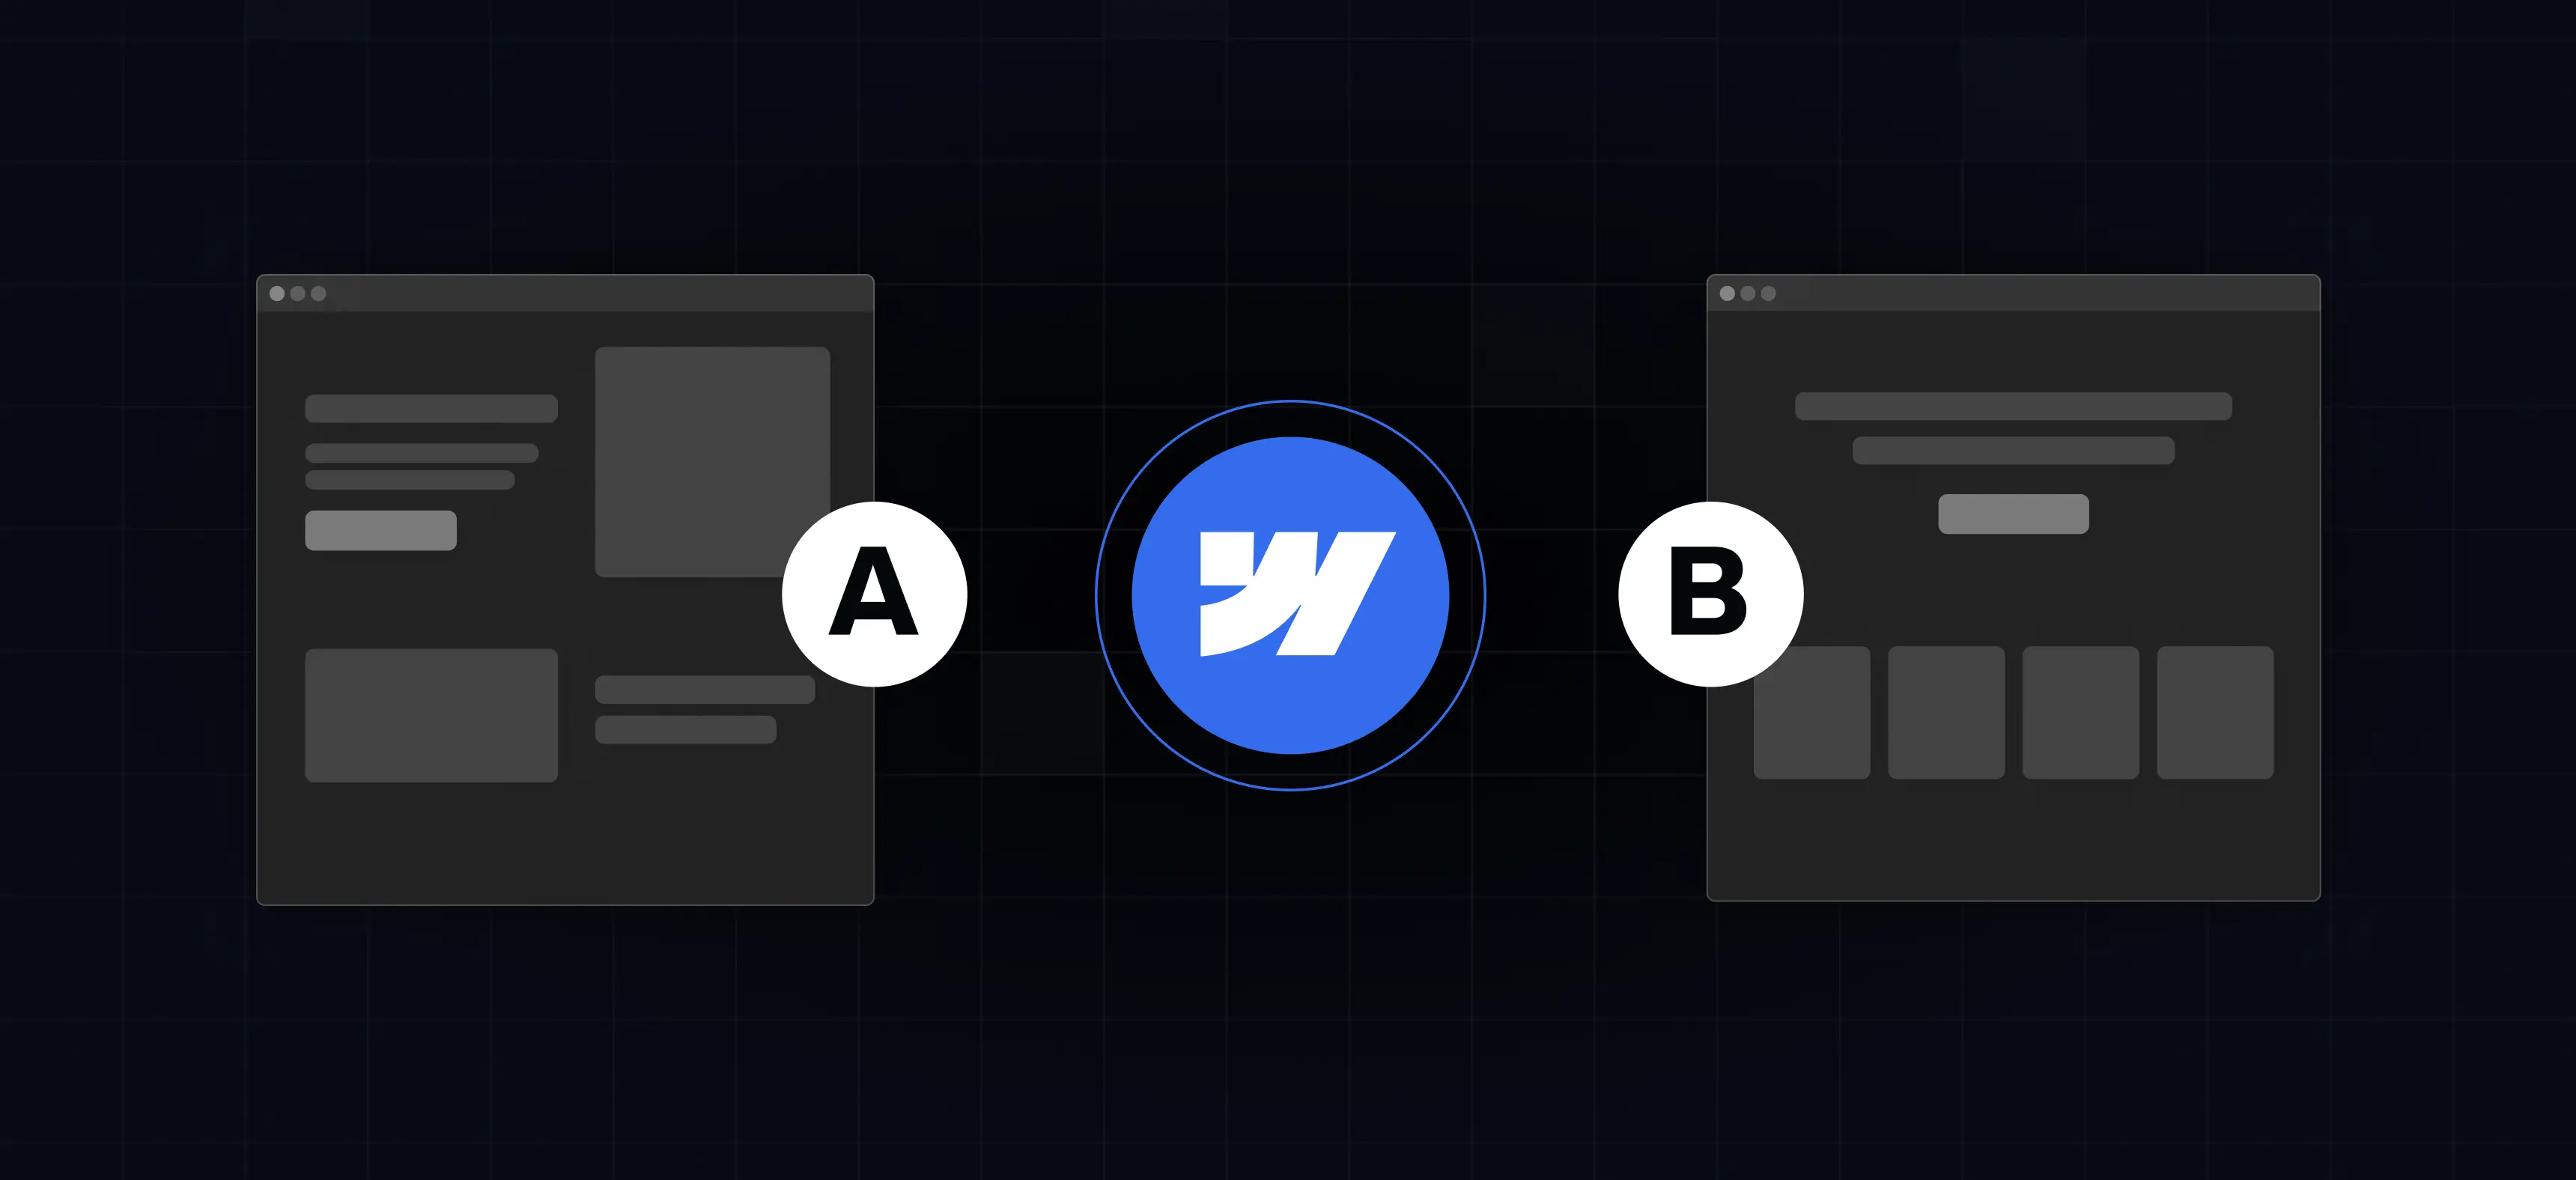
Simply put, A/B testing (aka split or bucket testing) is a method of comparing the two versions of a product to see which one performs better. So, can you do A/B testing on a website? Absolutely! It works by showing version A to one group of users and version B to another, then collecting data on how they interact. The gained information is then used for statistical analysis to see which one of these variants can help you achieve your goals (such as, for example, higher conversion rates) more efficiently.
Think of it like choosing between two coffee shops. You try both, see which one gives you the experience you prefer, and then stick with it. A/B testing works the same way - testing two versions of a page or element to see which one your users respond to best.
A/B testing is a simple but important practice because it allows you to determine how and to what extent certain changes impact the user experience. It can be used as a tool for achieving a single goal (such as boosting user retention) or for continually improving an overall experience
Does Webflow have A/B testing?
Yes, Webflow provides you with the possibility of A/B testing, but only through Webflow Optimize, their native A/B testing tool available for paid users. However, it’s also possible to select some of the third-party tools available, such as Optibase, Stellar, Humblytics, Optimizely, VWO, Crazy Egg, and the like. Be as it may, if you’ve opted for Webflow design and development, you’ll have plenty of options to choose from.
Why A/B testing is worth your time in Webflow
If you want to stop guessing and start learning what works for your website - and what’s not - A/B testing is a must. If you’re still not convinced, take a look at all the benefits conducting A/B testing in Webflow can lead to:
- Higher conversions - A/B testing allows you to find out what truly resonates with your audience and double down on it,
- Fewer changes down the road - testing early helps you validate decisions and, therefore, reduce costly redesigns later,
- Improved ROI - small tweaks from A/B testing can affect your business finances for the better,
- Better audience understanding - A/B testing reveals how users actually behave by providing data-driven insights,
- Improved customer experience - it’s a method that can point you to elements on your website that your users do and don’t enjoy.

Setting clear goals before Webflow A/B testing
Before you start with tests, you need to determine the goals you wish to accomplish with them, such as improved UX or, for instance, reducing bounce rates. An even better option is to define easily measurable goals, such as more clicks, higher sign-ups, and longer time on page. Naturally, it’s also important to set clear KPIs (Key Performance Indicators) upon which you’ll be measuring the success.
For example, if your goal is to increase sign-ups on a landing page, you might test two versions of the same page - one with a shorter form and one with fewer required fields. Your KPI would be the percentage of visitors who complete the sign-up form.
Or, if your goal is to boost sales, you could test two product page layouts, one with a large “Buy Now” button above the fold, and one with customer reviews highlighted first. The KPI here would be the conversion rate from page visits to completed purchases.
Create a testing hypothesis
Once you’ve defined your goals and chosen the metrics to track them, the next step is to outline a clear hypothesis. This should state the specific change you plan to test and the outcome you expect to see.
A simple framework to follow is:
“By changing [X] to [Y], we expect [metric] to improve by [percentage].”
For example:
- Changing the CTA button color to orange could boost the click-through rate by 3%.
- Adding personalized suggestions to the Home screen might increase average session length by 10%.
- Making the subject line shorter and sharper could improve open rates by 5%.
Choosing the right tools for A/B testing in Webflow
How to test a Weflow website? When it comes to running A/B tests in Webflow, the tool you choose makes all the difference. Some are lightweight and perfect for quick experiments, while others offer enterprise-level power. To save you time (and a few headaches), here’s a comparison of the most popular tools for split testing your custom web solutions.
Prepping your Webflow site for A/B testing
You don’t want to finish testing only to later realize the results you’ve got are not reliable - and that’s what can happen if you don’t prepare your Webflow website the right way. While choosing the right A/B testing tools is also a part of the preparation process, you also need to double-check them. For them to work the right way, they need to be set properly.
Next, make sure your content is fully organized for easier management and tracking of each variation. At the same time, don’t just focus on the desktop version, because you need your website to work on other devices such as mobiles and tablets. If you’re aiming for a true user-centered design, always keep an eye on the responsiveness.
How to run A/B testing in Webflow step-by-step
Running an A/B test in Webflow isn’t as complicated as it first may seem, especially if you know how to do it right - and we’re here to teach you. To prove to you it’s not rocket science (no matter how high scientific it may be), we’ve broken down the process into simple steps:
- Duplicate the page or element
Start by creating a copy of the page, section, or any other element you want to test. This way, you can safely make changes without touching the original.
- Make your variation
Edit the duplicate(s) with your new idea(s). However, be certain to keep the change focused so you can clearly measure what worked.
- Connect your tracking tool
Install your A/B testing tool of choice (like Webflow Optimize, Optibase, or any other we did or did not mention) and make sure it’s tracking both versions. This is what collects the data you’ll use to decide which variation performs better.
- Launch the test and let it run
Publish your changes, send traffic to both versions, and let the tool do its job. And no matter what you do, resist the urge to peek too early. You need enough visitors and time to show trustworthy results.
Once the test has run its course, you’ll be able to pick the winning variation, apply it across your site, and hopefully achieve the goal you aimed for by making this change.
Ideas you can test right now
Not sure where to start? You don’t need a massive redesign to see real results. After all, when done right, small tweaks can have a big impact. Here are a few easy wins you can test right away:
- CTA button colors - a brighter or contrasting color can draw more attention and boost clicks.
- Hero headlines - try a sharper, shorter headline or one that highlights a different benefit.
- Form placement - move your signup form higher on the page, or test a shorter version with fewer fields.
- Product images - swap lifestyle shots for close-ups (or vice versa) to see which connects better with your audience.
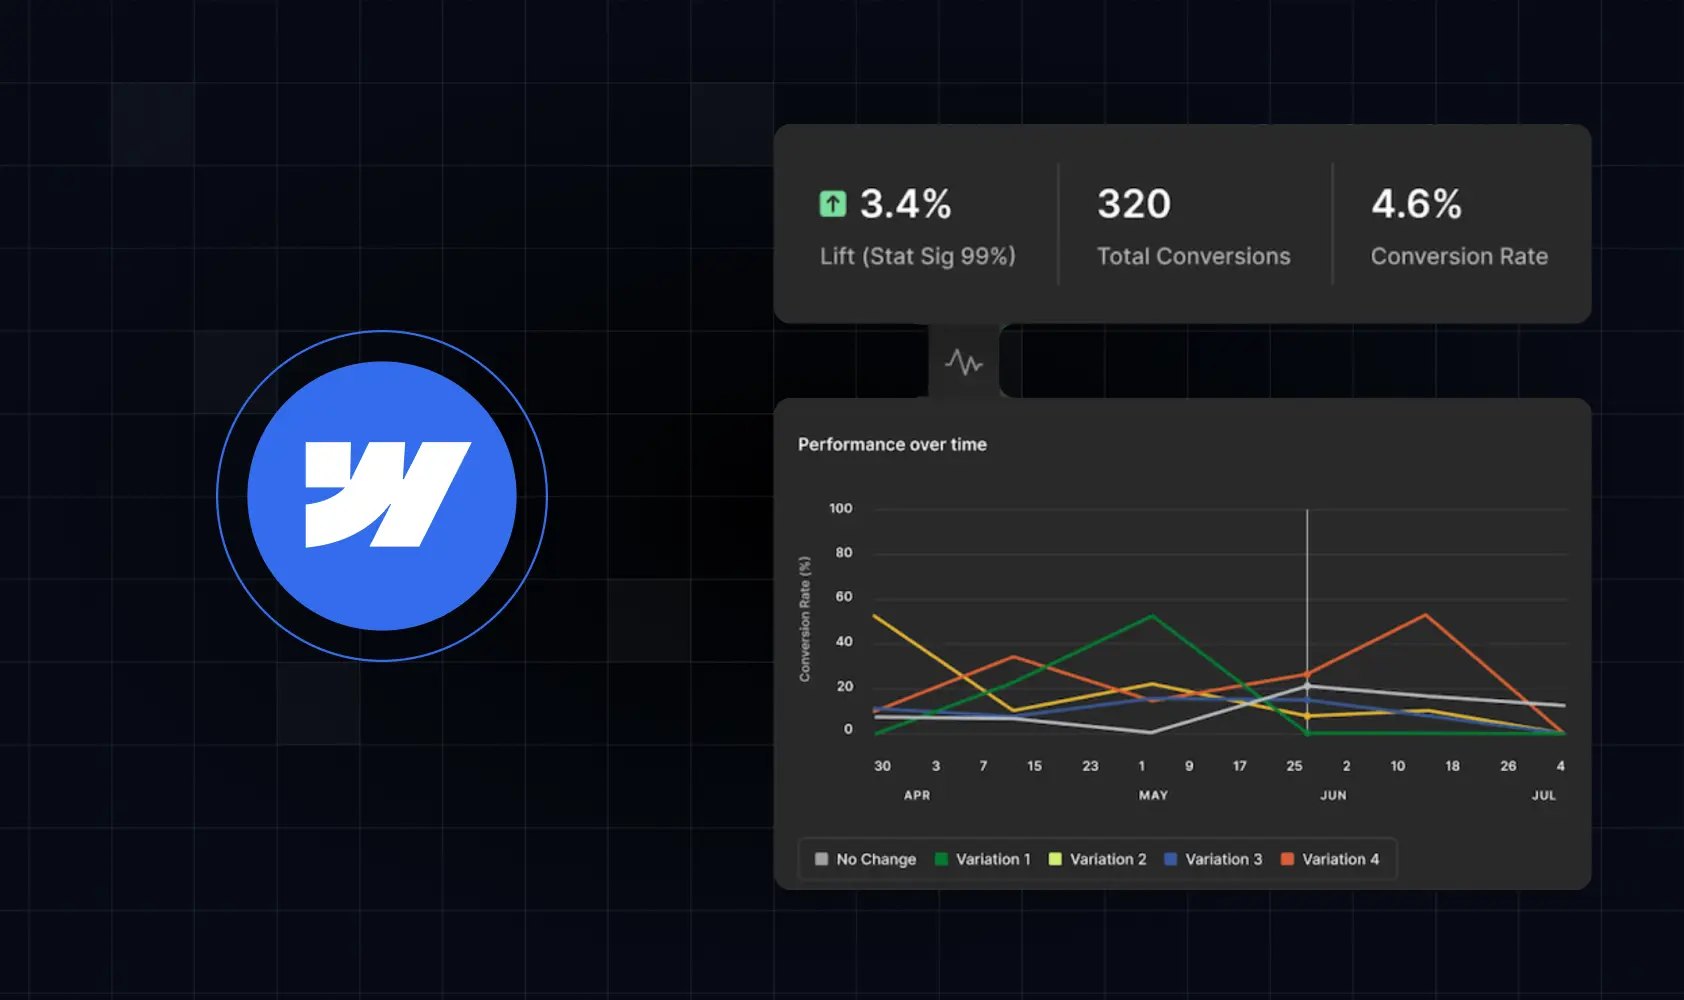
Reading your results and taking action
When your test has run its course, it’s time to look at the numbers, and for some, numbers can be pretty scary all on their own. However, the key is not to get overwhelmed by every metric. Instead, focus on the one goal you set at the start (like clicks, signups, or purchases). The version that performs better on that goal is your winner.
Once you’ve identified it, roll out the winning variation across your site in Webflow. The beauty of Webflow is how quickly you can implement those changes. You can make updates in minutes and immediately start seeing results.
Avoiding common A/B testing mistakes
One of the biggest pitfalls in A/B testing is ending a test too early. Why? It’s simple - small sample sizes can look promising but give misleading results. We already emphasized this in the text above, and we’re doing it again, because it’s the most important thing to watch out for.
Another common trap is changing too many elements at once. Look at it this way - if you tweak the headline, the button, and the layout all in one go, it’s impossible to know what actually made the difference. Therefore, keep your test as focused as possible.
Traffic is another factor to keep in mind. Without enough visitors, your results won’t be reliable, so focus on bigger, high-impact changes and let your test run longer. Finally, don’t just look at which version performed better. Take the time to understand why users responded the way they did. We strongly believe that insight is where the real value of A/B testing lies.
Is A/B testing illegal?
When running tests, it’s important to remember that A/B testing is legal, but ethical considerations matter. Always respect user privacy, comply with data regulations like GDPR, and avoid collecting sensitive information without consent. By keeping your tests above board, you’ll be able to get reliable results without any legal headaches.
When to bring in the pros
Running your own A/B tests is a great way to learn, but sometimes you need deeper insights and faster results. That’s where working with a team like Devolfs can make a big difference. We are here to help you design smarter experiments and avoid common pitfalls. Not just that, but our team is well-versed in advanced testing strategies that go beyond the basics. If you want to level up your site’s performance without spending weeks on trial and error, make sure to contact us.


%201.svg)